Greentree Video System
How I designed and produced the new projection and broadcast system for my local church
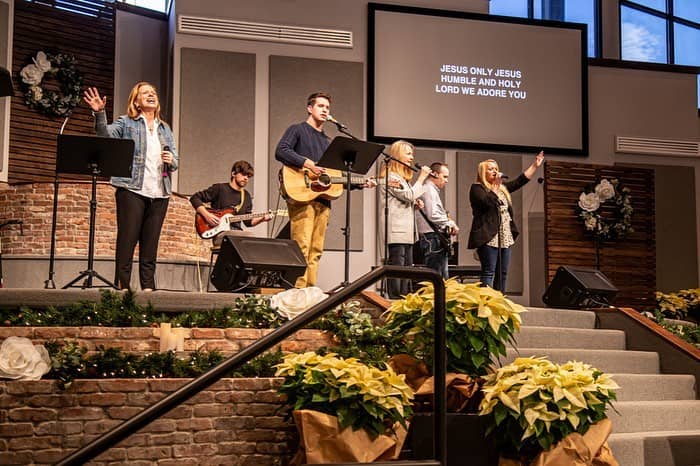
In 2018, I was asked by a member of my local church if I'd be interested in serving the church by joining in our tech/projection team. Services were made in a church projection software called EasyWorship, and it worked decently for the most part. Sunday’s service was recorded using a Panasonic AG-DVC30, which recorded to Mini-DV cassette tapes and released in 2003.
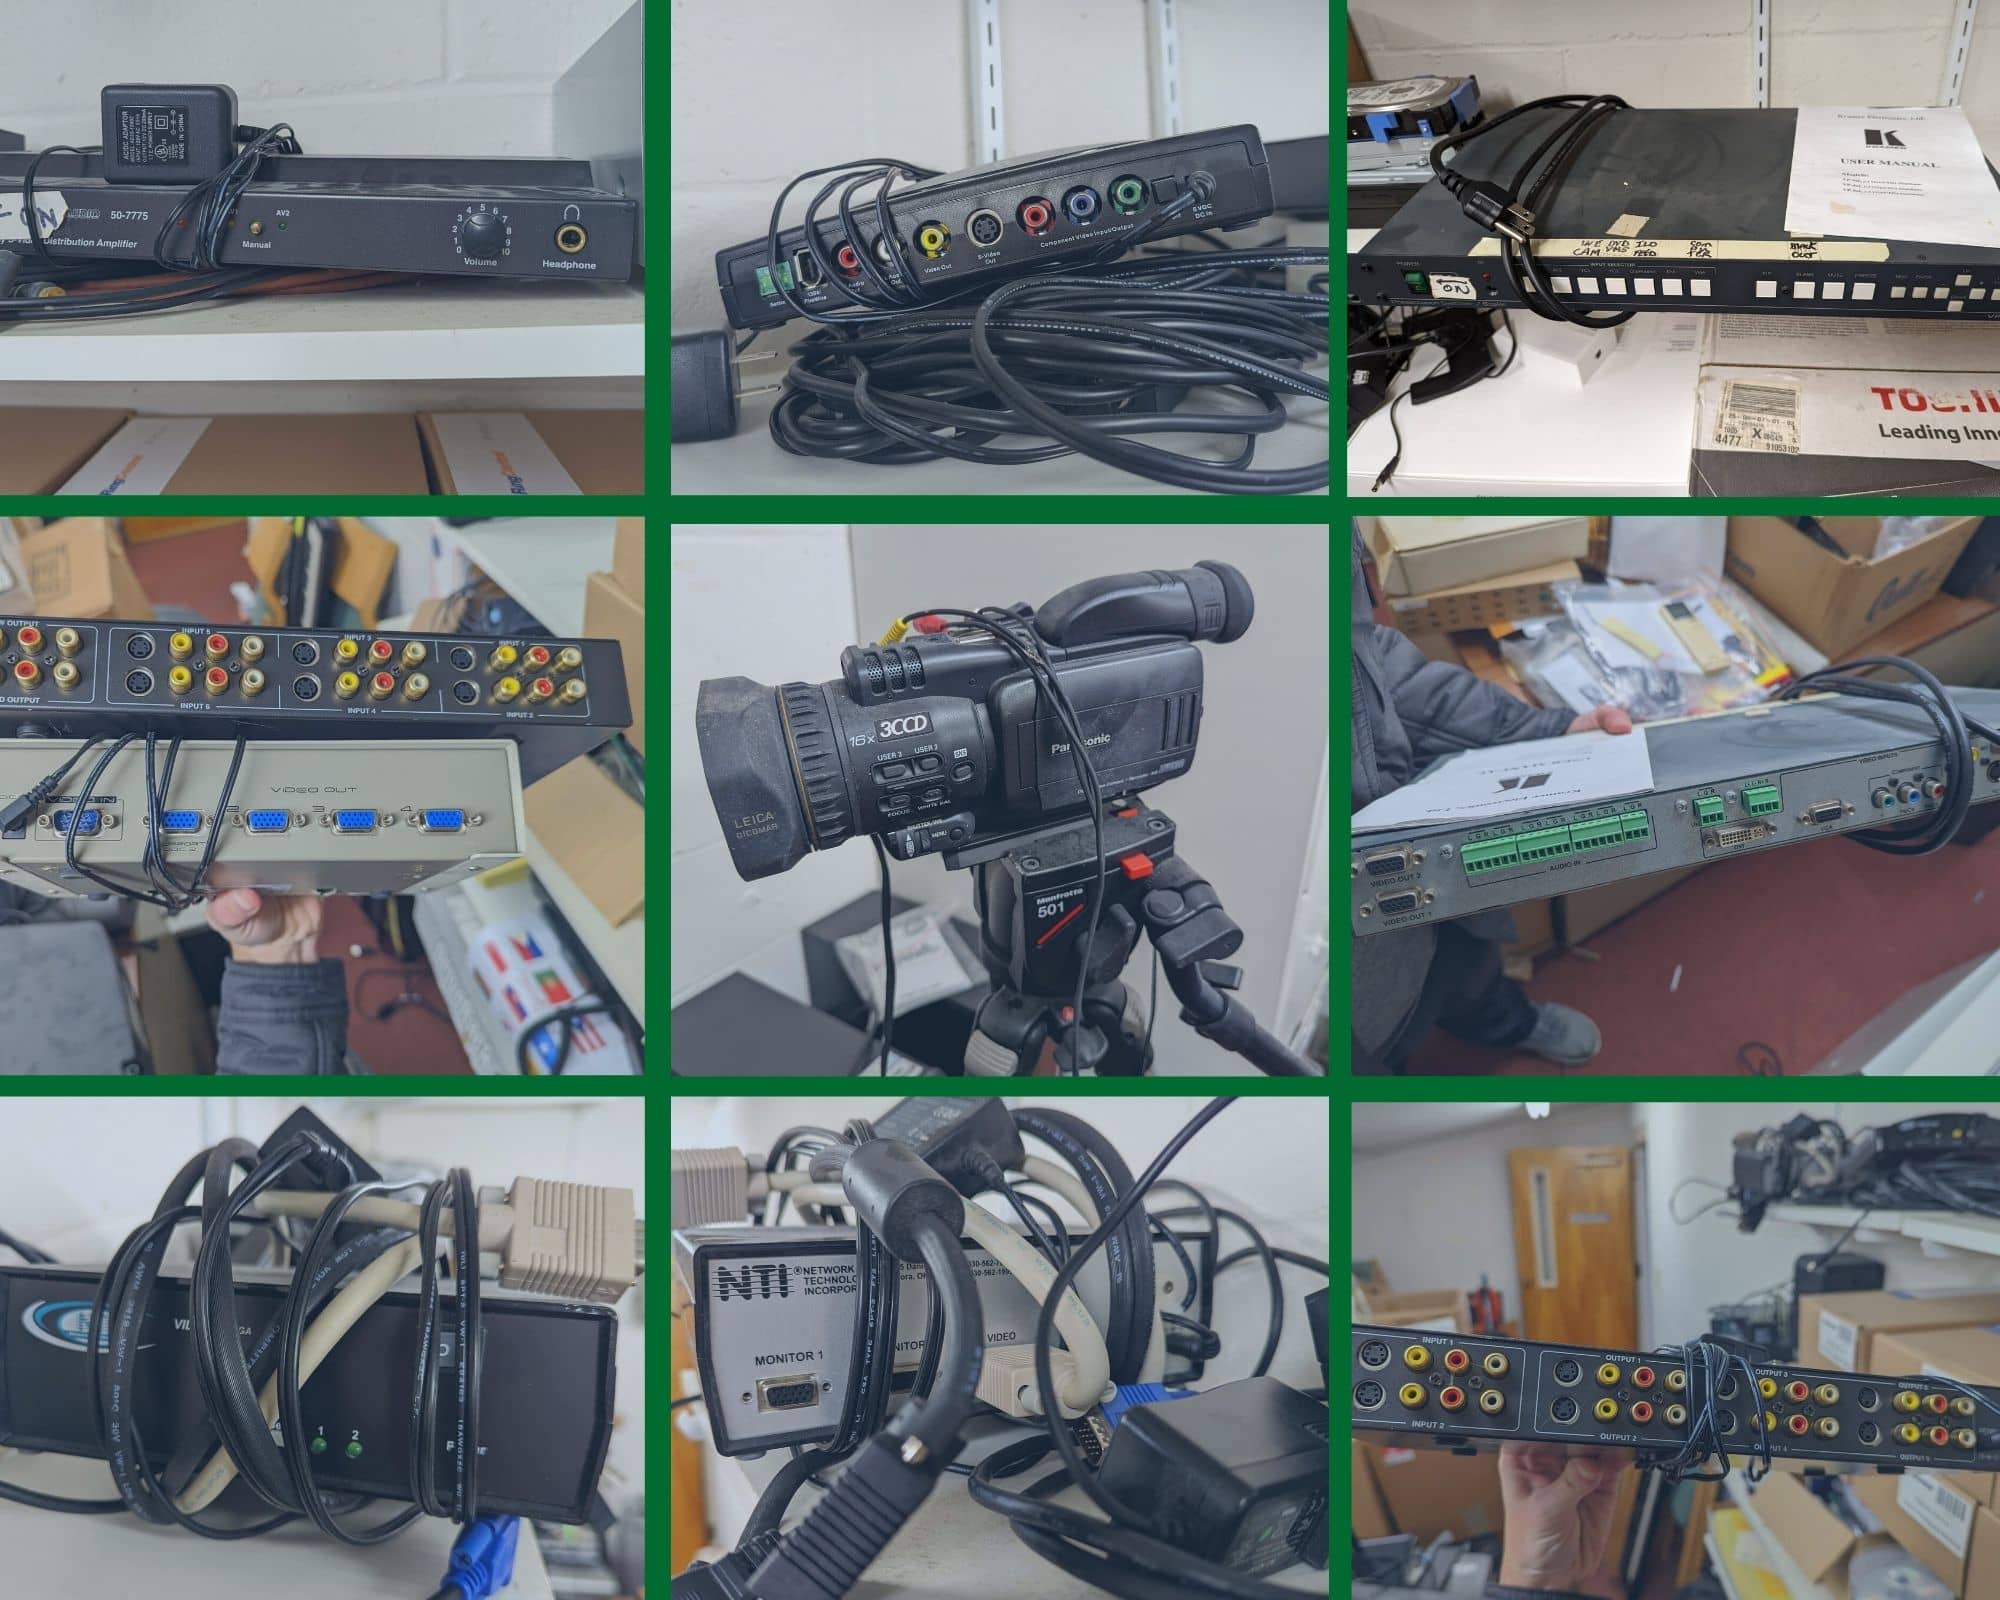
The complicated setup to run the image from the PC to the projector was as follows: PC to S-Video to an S-Video amplifier, S-Video amplifier to S-Video recorder, S-Video recorder to Component cable, Component cable to VGA Splitter, VGA Splitter to VGA distributor, VGA distributor to another VGA Splitter, VGA Splitter to VGA-to-HDMI scaler, and finally HDMI to HDMI splitter before reaching our projectors. Just from the list of equipment, it’s easy to see there were far too many pieces of equipment with far too many points of failure. But it worked for our church for the most part.
Beginning in 2019, with the rise of a certain respiratory illness, church was forced to move online to live streaming. The tech team began using a MEVO Start, a wireless live streaming solution. The MEVO paired over Bluetooth to an iPad, where the iPad was used both to control the camera remotely as well as add media such as song lyrics to our live stream.
Houston, we have a problem
This setup posed several issues. With a connection over Bluetooth, we had live streaming issues constantly. Frequent disconnects over Bluetooth left us unable to change settings on our camera, camera overheating even in the shade, and worst of all, disconnects from the internet entirely in the middle of livestreaming a service, forcing us to try and restart the livestream, where it was a coin flip of if we’d have a strong enough signal to continue our service online.
Given the amount of trouble we’d been having with this, as well as some flooding in the church office causing some remodeling, the church ultimately decided this was as good as time as any for a renovation to our sanctuary to begin, including a new projection and video system to replace this old one.
A Simple Start
The process of course begins with problems we want this new system to solve.
The frequency of camera disconnects and livestreaming issues meant we needed our new broadcasting setup to be reliable and redundant, with fail safes in place for, if any, disconnects in service were to occur.
We also need wanted to move away from the MEVO platform for live streaming, given we needed to pay $15 a month to the MEVO platform to include media on screen. This media was limited to preset locations and sizes, which we used to include PowerPoint slides in the top right corner for song lyrics. While much smaller than we’d have liked, it worked for the time. But we wanted to move away from the platform if simply adding lyrics for our audience would be a service worthy of a monthly fee.
The Camera
The camera was also very limiting, not just in connection and speed, but quality. The MEVO works by using a 4K sensor which is then downscaled to a 1080p image. Quality is also limited to the camera’s bitrate, which maxes out at 3.5Mbp/s.
Given it’s absurd FOV (150 degrees), the camera also used fisheye reduction to flatten the image. This gives the camera the option of offering many different shots. Need a wide angle? Keep the image zoomed back. Need a closeup? Zoom in a bit more, there’s your shot.
This meant that while it could offer these zoom levels in software, because the camera isn’t optically zooming in with the use of a lens, quality can diminish at closer shots. This also meant the camera needed to be very close to the presenter, which would not work when we moved back into the sanctuary to have a camera on a tripod 4 feet from the pastor.
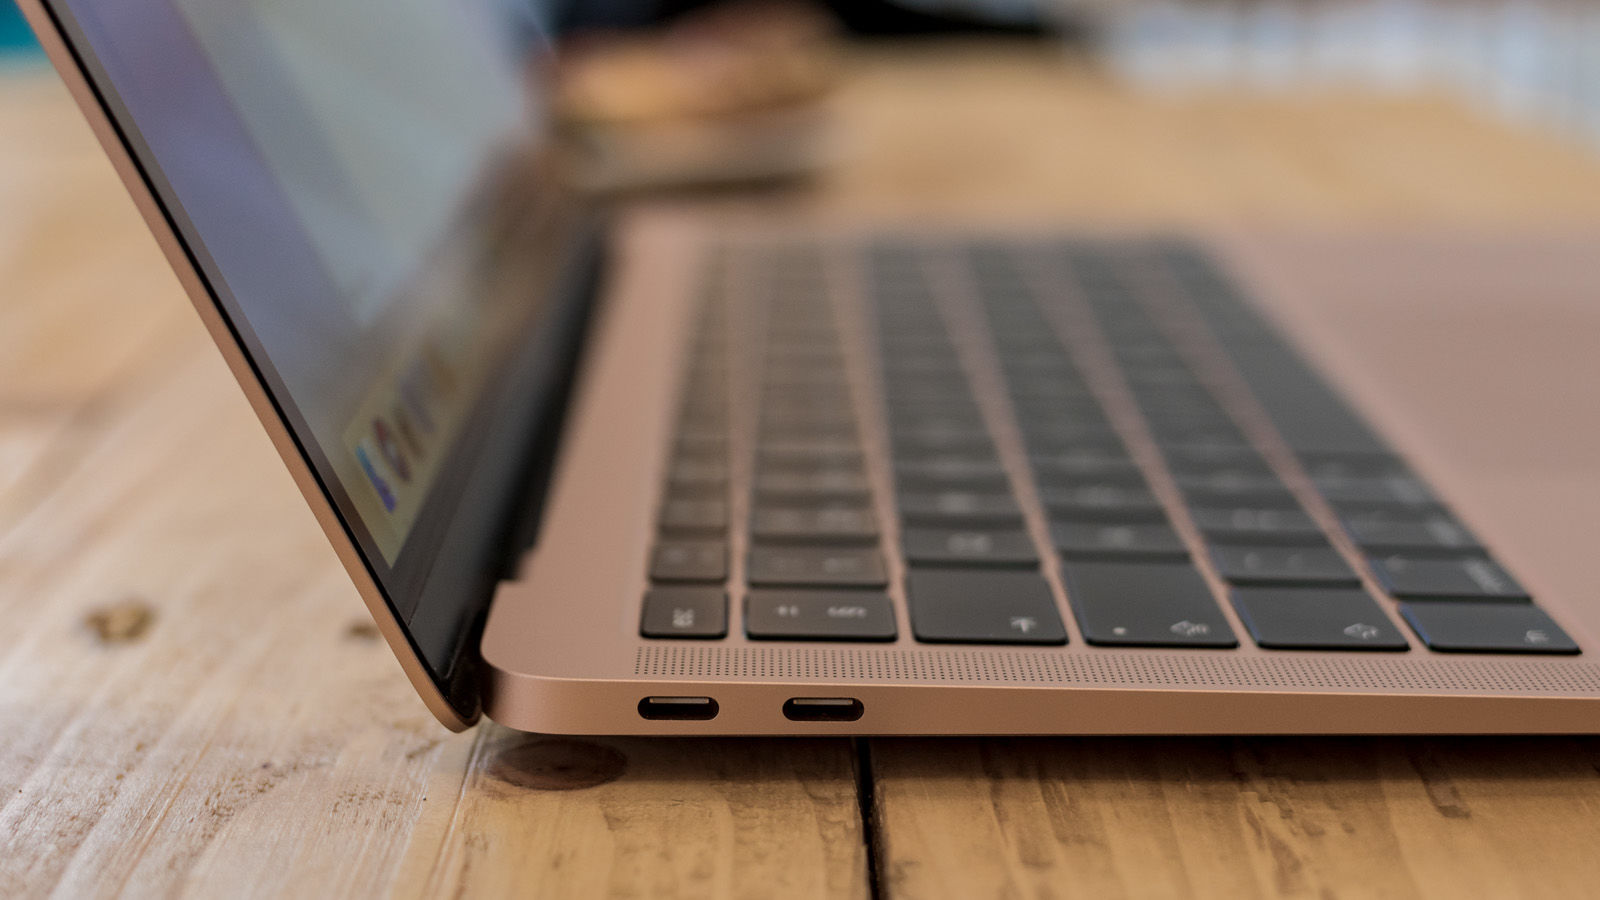
We choose to use our newest church laptop to power this setup, given it’s performance should be more than adequate for the additional processes we’d be throwing at it compared to other computers in our church being from the late 2000’s not exactly being up to the task.
While the computer was certainly powerful enough, it lacked the port selection (4 USB-C ports, 2 of which being Thunderbolt 3 capable) to add additional equipment so this was another small issue to be solved.
Finally, our projectors would also need to be replaced. We were dealing with quite a lot of ambient light in our sanctuary, both artificial light but mainly large windows in the room. Because of this, these new projectors would need be extremely bright, much brighter than the old projectors if we wanted to overcome this issue. The TVs we were using were also far too small for song lyrics and other media, so these would need to be replaced or repurposed as we could have a much bigger screen for the congregation.
To the drawing board
Given these problems, I tackled on one at a time.
First, the projector screen. Given the old TV’s size, and some constraints we’d need to work with for putting sound panels to the walls surrouding the projector scrreen, I took some photos of the screens on the wall and hopped into Photoshop to mock up some shots of just how large we could go.
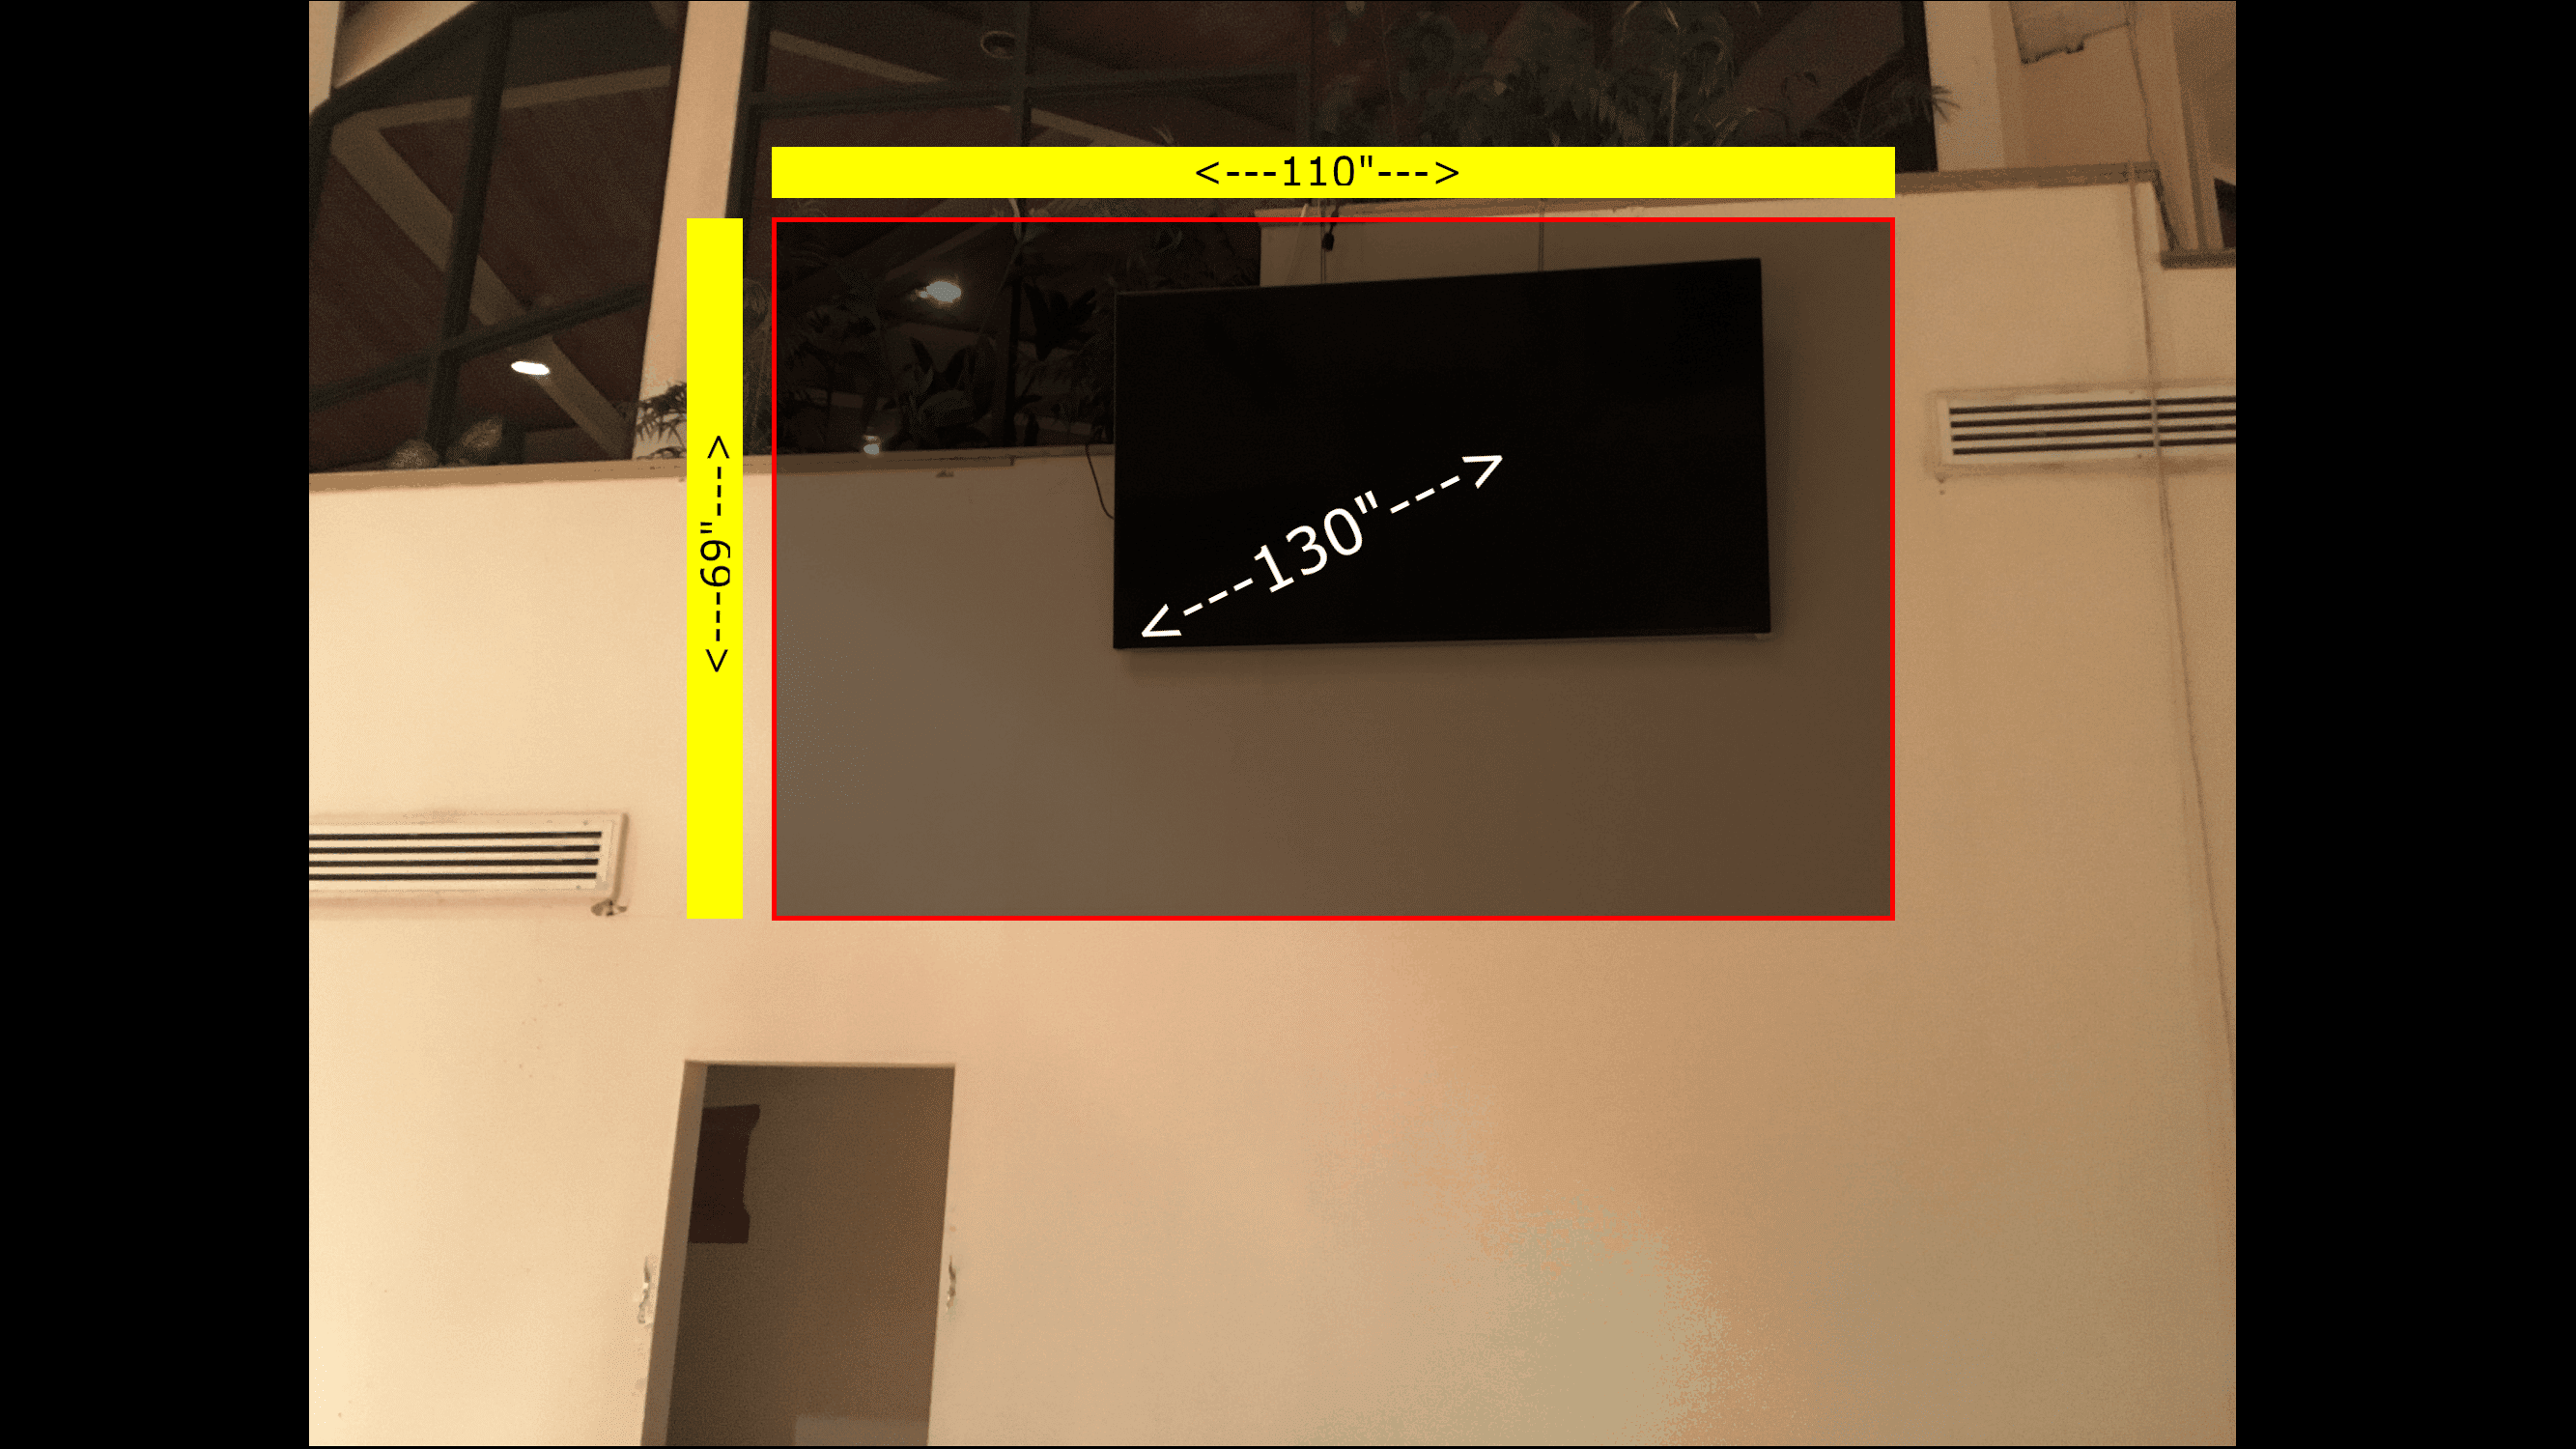
After getting feedback from the rest of the renovation team and pastors, we decided a projector screen at 130” would work best given how large we wanted the image to be and some constraints on how big we could go, given the vents on either side of the screen being our cutoff. We couldn’t quite have a movie theater experience, but what we had would work.
On the issue of ambient light, the projector screens would also need to combat this.
I ultimately decided on the Screen Innovations 3 Series Fixed 133 Inch Diagonal 16:9 Fixed Frame Screen. The sizing was perfect at just a few inches above what we had in mind, and given it was made with ALR (ambient light rejecting) fabric, it was exactly what we needed to solve our ambient light issues, along with a bright enough projector.
Projectors
The projectors were the next task. They needed to be far brighter than our old projectors, as well as have the connections needed to futureproof the church for its needs in the future. We did not want to have to replace these projectors entirely in 3 years because 4:3 is no longer the standard definition and VGA is no longer an industry standard.
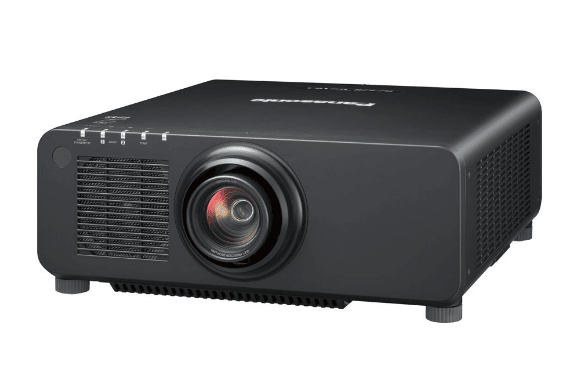
With all that in mind, I decided on the Panasonic PT-RZ970BU. At 10,000 lumens, it was nearly 3 times brighter than our old projector system.
While offering HDMI and DVI-D connections was a nice inclusion, it was the 3G-SDI BNC connection that was the main reason that pushed me towards this projector among others offered in similar brightness and price range.
SDI has been the standard for carrying video signal over long distances, as HDMI signals begin to degrade at around 50 feet, while SDI, specifically 3G-SDI that this projector offered up to, can run 300 feet without issue. 3G-SDI also allows for a much higher signal bandwidth, meaning we could send full 1080p, 60fps 4:4:4 signal to have movie theater quality color and clarity for a very respectable price.
Lights, camera...oh, yeah, camera.
The camera needed to offer much higher image quality than our old one, as well as be much more reliable. It still needed to be as flexible though, as a single camera setup was easier to manage for our smaller, often one man projection/broadcast team. It also needed to be unmanned, and have the zoom range needed to include a full shot of the whole worship team, as well as a closeup of the pastors preaching at the podium.
A PTZ camera was our best bet, ultimately going with the PTZOptics 20x-SDI camera. Given it’s 20 times optical zoom, we had more than enough room to get closeup of the pastors. With it being PTZ (pan, tilt, zoom), we could also make presets for each angle and zoom level we needed, and with the click of a remote button press, be on whatever shot we needed to show our service to an audience.
Our old friend 3G-SDI even makes an appearance, being a welcome choice in getting our signal back to the livestream.
Speaking of live-stream, how is all this video being handled?
The heart of this new broadcast and projection system lies in the ATEM Mini Extreme.
With up to 8 HDMI inputs, we had more than enough room for expansion if we chose to add more cameras other than the single PTZ in the future. With built in video scalers, there was also no need for external scalers to either upscale, downscale, or change the frame rate of whatever signal we were bringing into the video switcher.
While the ATEM Mini is designed to be a video switcher, it also works very well in running the livestream itself. The ATEM Mini Extreme will record the program feed locally, to an external SSD over USB-C, as well as encode and send out the program feed online to our YouTube channel, or wherever else we chose.
With an Ethernet port included, we would no longer run into any issues of a dropped connection due to a spotty WiFi signal or Bluetooth signal.
The brains of the operation
If the ATEM Mini Extreme is the horse drawing the carriage, our computer and the software running on it is our skilled driver.
Given some issues we were having with EasyWorship, we decided to move to a near industry standard for church presentation software, ProPresenter 7.
With so many bells and whistles, it has enough rich features and settings to be the choice for large churches with much more complicated video systems than ours, while also being simple enough to use for a volunteer that it fit our needs perfectly.
PP7 offered everything we need to produce the service in house for our congregation, but what ultimately made it our choice was it’s ability to send septate feeds for different purposes.
Seeing as we were re-purposing our old TVs to be hung in the back for our worship team, it made perfect sense to use these as stage screens, for needed information for our worship team and pastoral staff during service. Countdown timers for when service begins and what time it is, lyrics of the song onscreen as well as what the next verse is for the worship team, and notes for our pastor if needed added a lot of flexibility to our team.
The second video signal we would need to send out would be a differently formatted, primarily lower thirds overlay, for our livestream.
This approach of using PP7 for our projection in house, as well as overlays for our livestream, meant we could simplify our projection and livestream volunteer down to just one person.
Before, we had one man operating the MEVO with an iPad, controlling lyrics using PowerPoint slides, while another volunteer operated the projection software, also controlling lyrics for for our congregation in house. This was a redundant task, which made sense to simplify down to a single role of possible.
The Big Picture
To fully wrap my head around all the different parts needed to get the video system together, I hopped to my favorite diagramming tool draw.io and created a system overview of the projection and broadcast system.
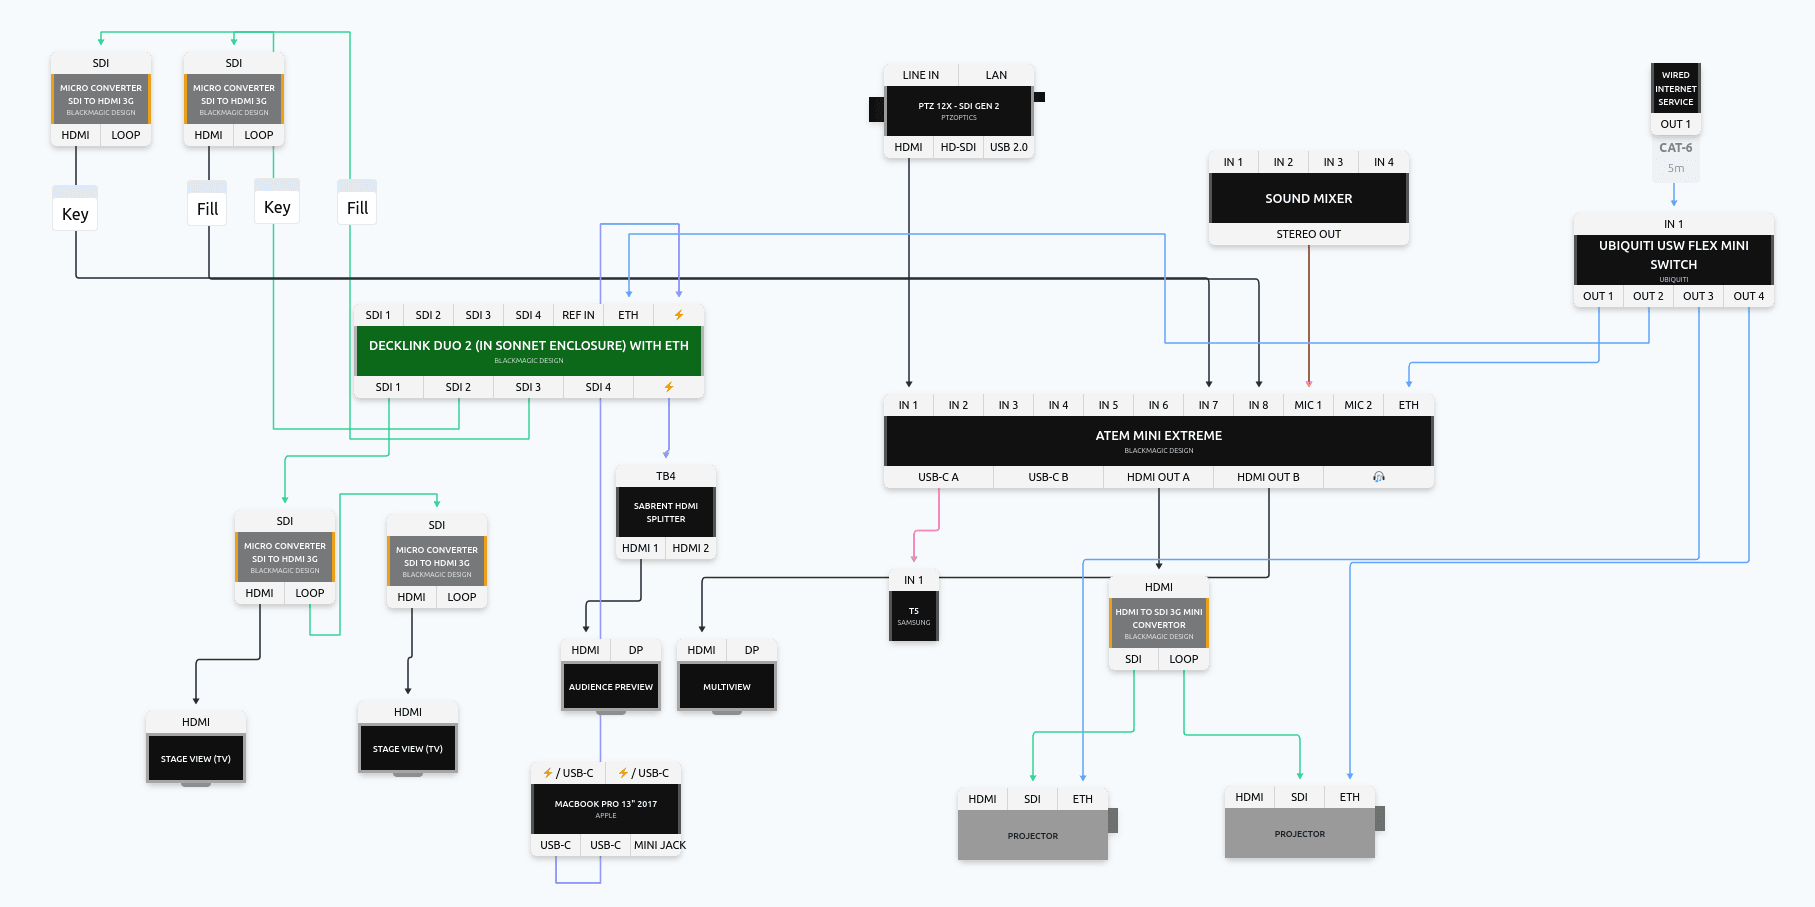
Some additional, smaller pieces of equipment were needed, such as Sonnect Echo Express Expansion Chassis to add PCI-E cards to give us additional I/O for our Macbook, such as the SDI outputs we needed for our projectors and stage screens as well as 10Gigabit Ethernet. This ensured we had all the connections we would need for now, as well as include the option for future expansion in the future if needed, without the need for a whole new computer.
Additionally, devices such as the input for the ATEM Mini Extreme as well as the TVs for our stage displays were HDMI, so I included some Blackmagic SDI to HDMI adapters for this purpose.
Given that the ATEM Mini Extreme offers an HDMI Output that can be treated as an Auxiliary Output, we could assign any input running into the switcher as an output to our projector screens. This solved our issue of wanting to show baptisms to our in person congregation, as the camera feed could be pushed directly to the projectors using another HDMI to SDI adapters for our projectors.
All coming together
After finalizing the design on paper, it came time to install all the equipment onsite in the newly renovated sanctuary.
With hours of running SDI cable in walls, drop ceilings, going up in cherry pickers to install projectors, updating drivers, installing software and configuring static IP addresses to each device on the network, the system was finally coming together.
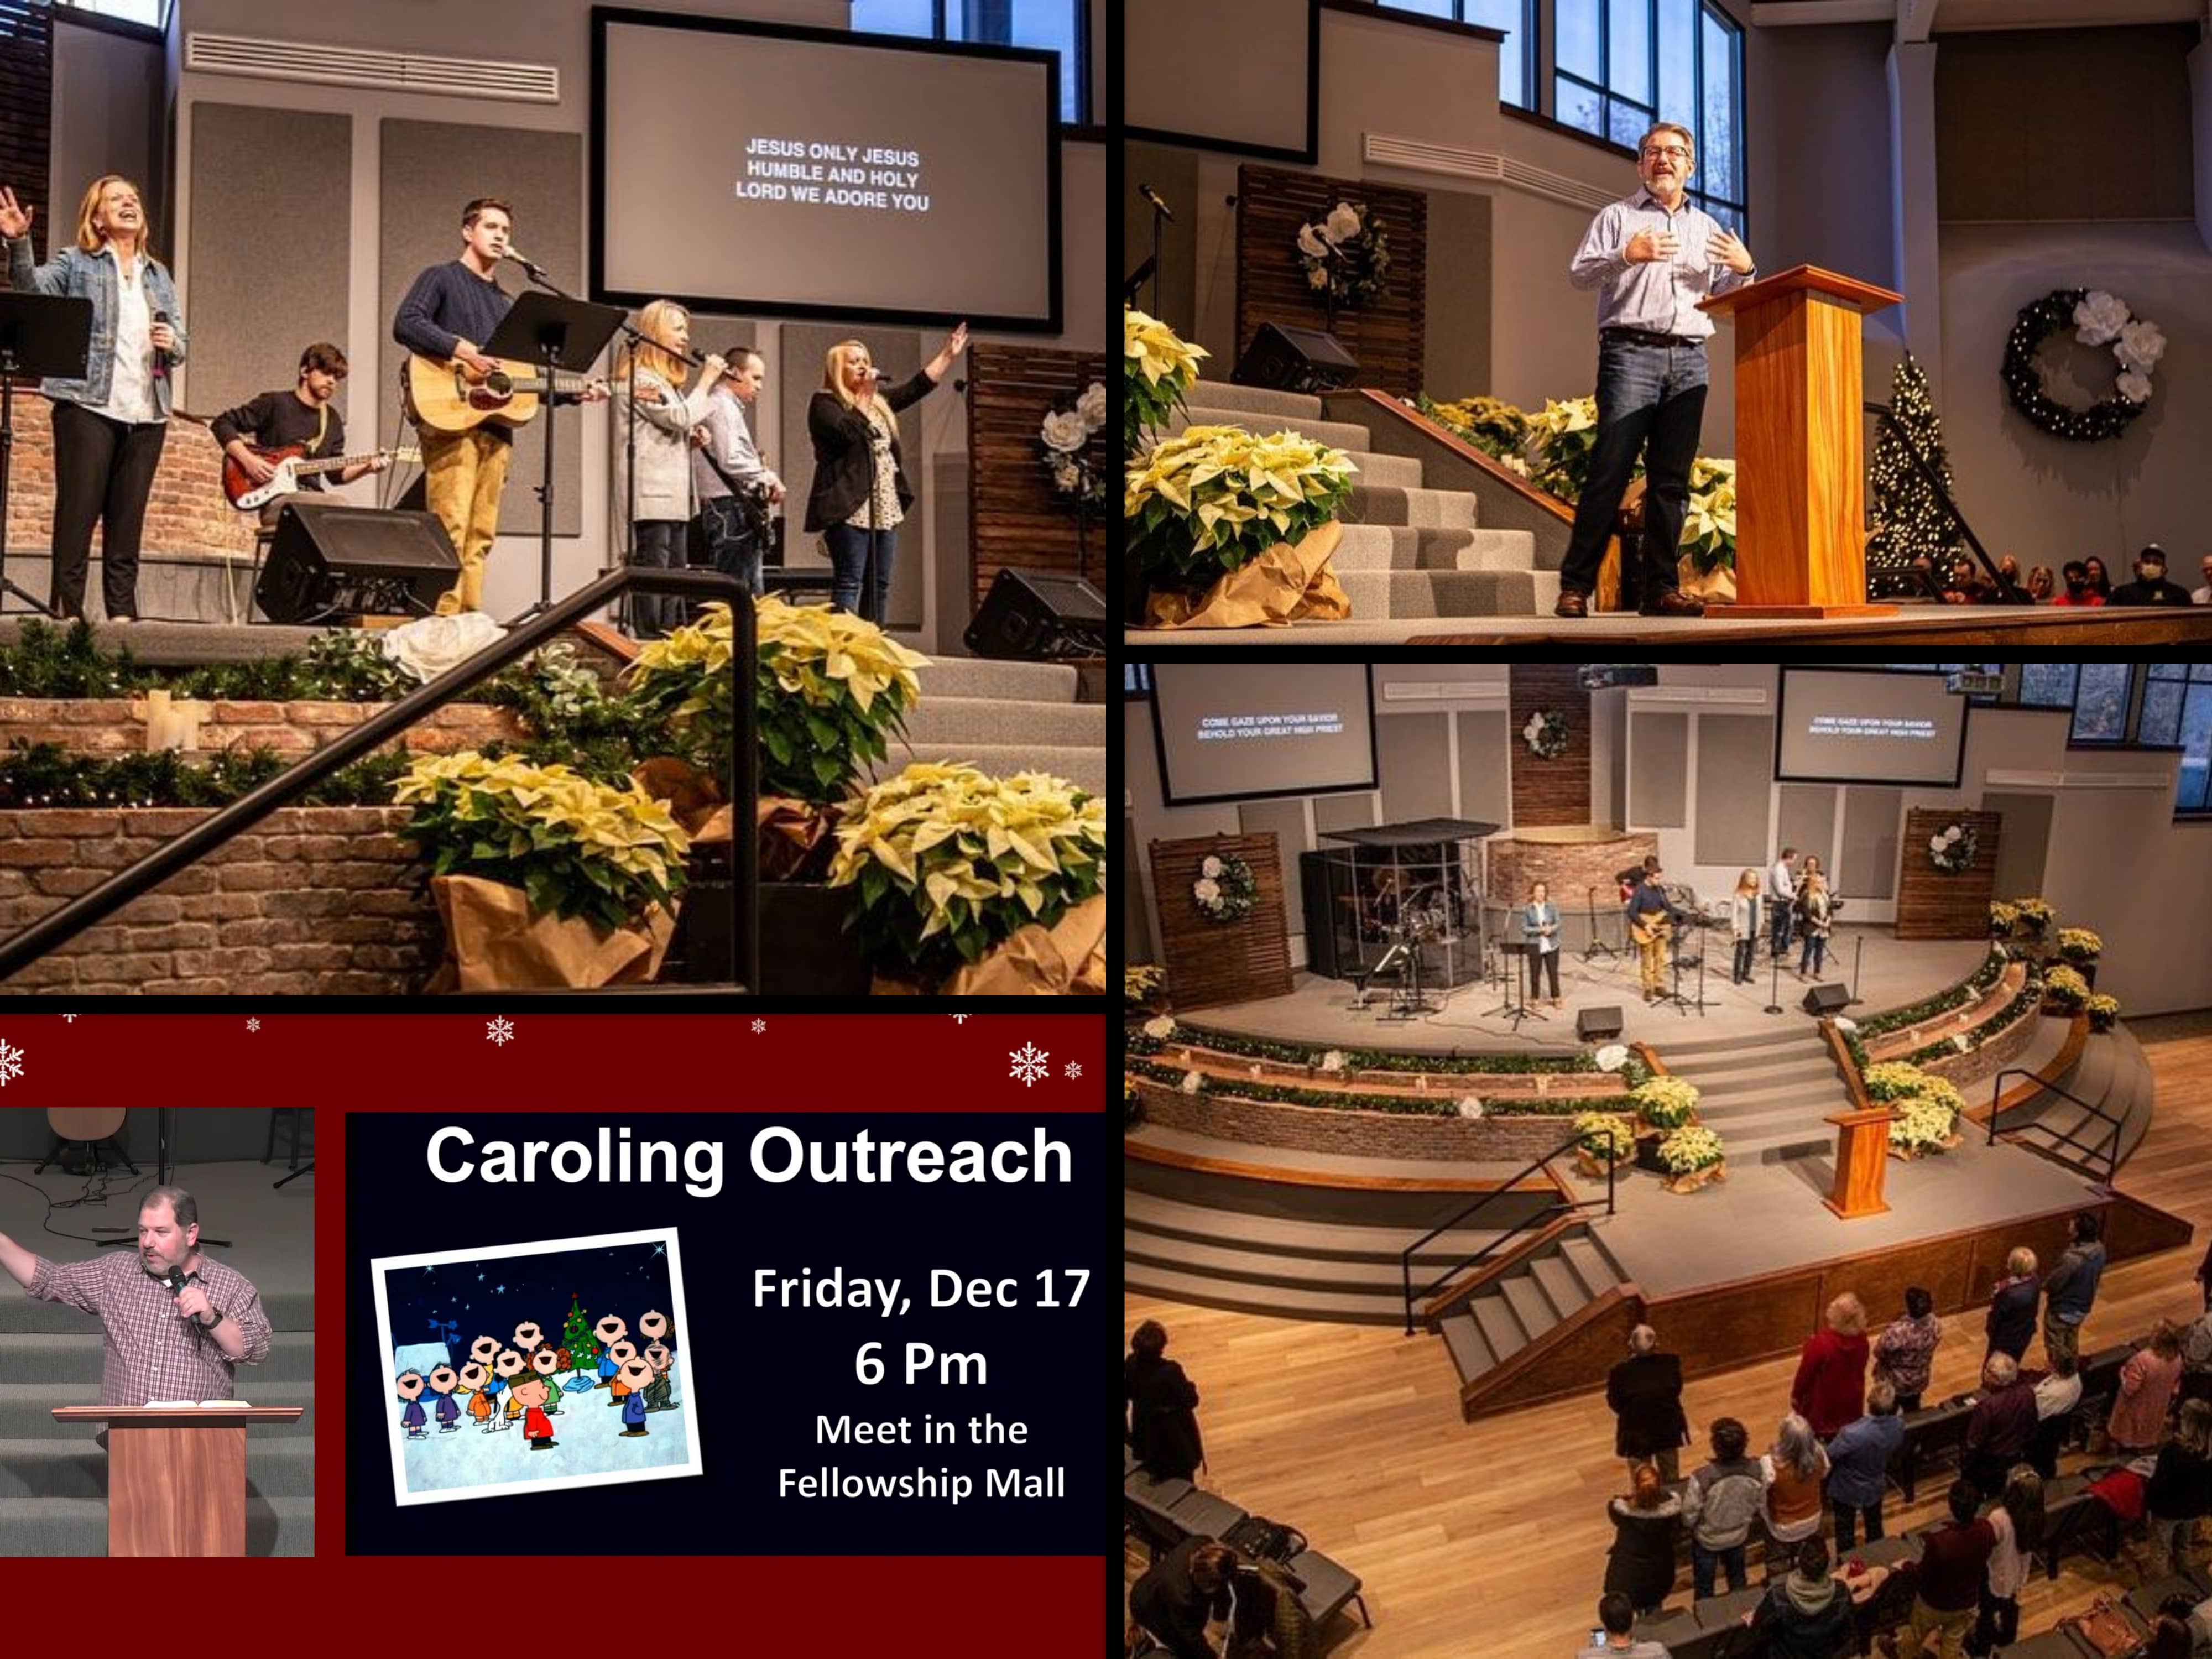
It was finally coming time to run a complete service in our new sanctuary.
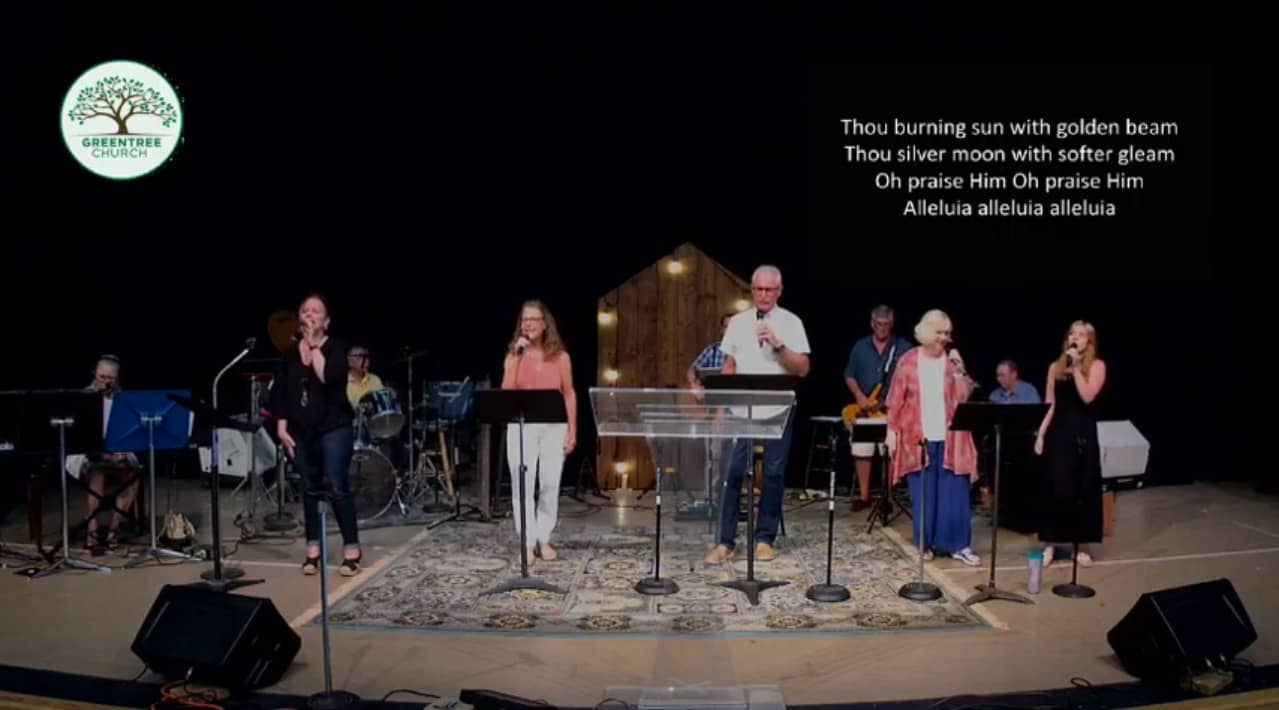
And it worked perfectly! No cut outs of signal, in person or online, no complaints about video issues or volume levels from the live stream, and a very smooth service overall.
The service explained
Services are put together in ProPresenter 7 with a heavy use of Macros to automate a lot of work to change Looks for each set.
For example, before service begins, a slideshow runs through some slides every 10 seconds. A timer to when service begins is included in the lower left corner for both our congregation in house and our live stream online. Our stage displays show this countdown in massive text, turning yellow at 1:30 minutes to our 10 AM service start and red at 30 seconds to, so our worship team and pastor knows exactly when they should be ready and on stage.
When the timer hits zero, the projector screens go black so the congregation knows service is beginning, and the live stream cuts to a camera angle showing our pastor on stage.
This is cued using a Down Stream Key, which is always kept up for our livestream. What this does is takes this separate live stream look we’re sending out of PP7, which I’ve formatted to focus text at the bottom lower third of the screen, and includes alpha transparency. When nothing is displayed on a screen, this means the whole screen is transparent, so you only see the camera feed.
When text is on the screen, such as scripture or song lyrics, those receive different audience looks. Songs get bold text with a black gradient beneath. Scripture gets smaller text formatted into an image I made in Photoshop with the sermon text large and the scripture reference in a smaller portion of the image.
I’ve set up changing the audience looks (how things are formatted on the projector screens, on the stage display TVs, and our audience online) into a named and color coded Macro, so formatting the song to have large text is as simple as adding the “Song – Large Text” Macro to the first slide of a song. The macro handles the rest.
This has made it much simpler for volunteers, who won’t have to learn the entirety of what I know for PP7 to put together the slides week by week.
This also of course implies Projection and Livestream Operator down to one job, as the only thing the projectionist needs to do to run the live-stream is hit Record and Live on our ATEM Mini Extreme. The gigabit Ethernet running to the ATEM ensures a reliable connection that hasn’t failed us once in the months we’ve been using it. Text and graphics on screen are handled entirely by ProPresenter 7, so they don’t require additional thought to get that running for another audience.
The only other responsibility of the live stream operator is to change the shots for our PTZ camera, which is made possible by the official PTZOptics control app for the iPad. Given the lack of line of sight to the PTZ camera, an app for control was necessary. It’s extremely simple though, with large buttons with the name of the angle I’ve already set on screen.
Is the worship team on stage and singing? Just tap on “Band” and the camera automatically pan, tilts and zooms in to the preset (PTZ does just what it needs to). Is the pastor on stage for the sermon, or to give announcements? Tap “Podium”.
Final Thoughts
This was a long, challenging, but ultimately very fun system to work on. It was my first time fully designing a system for a client from the ground up, every detail included. The client may be my church and I’m just a volunteer but it was a great learning experience to work with a larger scale and a budget.
It’s been a wonderful opportunity to serve my church in such a way as well as learn so much in the process.
This still a bit of a work in progress, with some additional requests coming in now to send the program feed out locally to TVs around our church campus, so expect a blog post on that at some point in the future.
Thanks for reading about this process! It was a lot of work (still ongoing as well) but a lot of fun and a great way to serve my local church as well. You can look at some of the videos I've helped produced by visiting Greentree Church's Youtube page.